

In a world where digital photos reign supreme, the charm of a DIY photo album is hard to resist. Imagine flipping through pages filled with memories, each snapshot telling a story that no smartphone can replicate. It’s like a time machine, minus the awkward haircuts and questionable fashion choices.
What Are DIY Photo Albums?
DIY photo albums combine creativity with personal memories, offering a unique way to preserve moments. These albums allow individuals to showcase their photographs in a tangible format, transforming digital images into cherished keepsakes.
Benefits of DIY Photo Albums
DIY photo albums foster creativity. Individuals can customize layouts and themes, reflecting personal styles. Tangibility enhances the emotional experience, providing a physical reminder of cherished moments. Creating these albums also promotes mindfulness, encouraging reflection on significant events. Personalized touches, like handwritten notes or decorative elements, evoke nostalgia, making memories come alive. Accessibility is another advantage, as DIY albums can be made on a budget, utilizing available materials.
Materials Needed for DIY Photo Albums
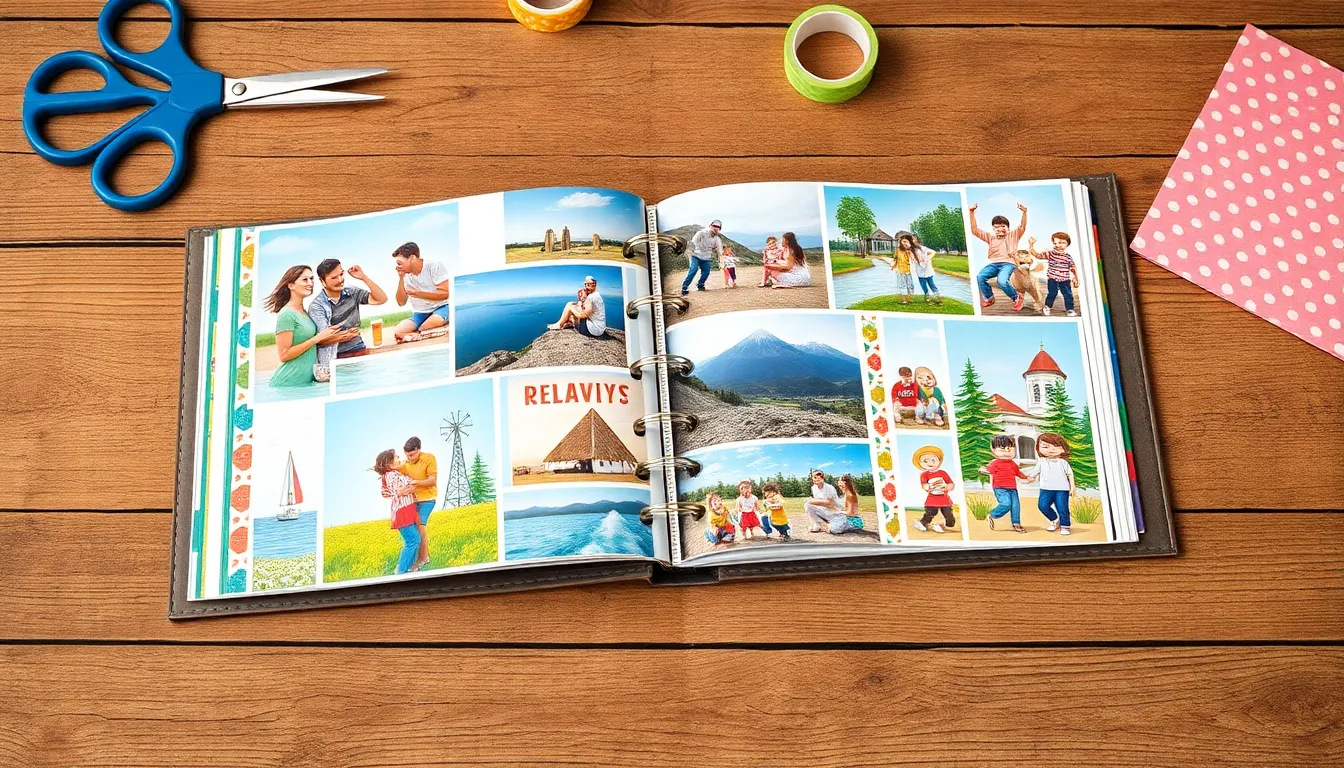
Essential materials for DIY photo albums include photo-safe cardstock for pages. Adhesive options range from glue sticks to double-sided tape, ensuring photos stay securely attached. Decorative elements like stickers, washi tape, and markers enhance the visual appeal. Pliers and string are useful for creating photo tags or embellishments. Choosing an album cover, whether pre-made or handcrafted, adds a unique touch. Utilizing a variety of materials allows for creative expression, resulting in a personalized masterpiece.
Creative Ideas for DIY Photo Albums
Creating a DIY photo album offers endless possibilities for personalization. Explore various themes and layouts to enhance the storytelling aspect of your collection.
Themed Album Concepts
Select a theme to unify photos and memories. Travel albums showcase adventures with images from different destinations. A family album highlights moments shared, emphasizing milestones and celebrations. For special events like weddings, themed albums featuring colors, decorations, and mementos create a cohesive narrative. Seasonal albums capture the essence of holidays like Christmas or Halloween, reflecting traditions and activities. Each concept invites creativity and makes memories stand out, ensuring an engaging experience throughout the album’s pages.
Unique Layouts and Designs
Experiment with layouts to add visual interest to your album. Layering photos can create depth, while varying sizes between images enhances engagement. Use collages to group memories from specific events or timeframes. Incorporating pockets for keepsakes fosters interaction, allowing the viewer to discover additional elements. Borders and backgrounds can tie elements together, giving the album a polished look. Highlighting images with mats or frames makes them pop, guiding the viewer’s focus. These design strategies transform simple photo placements into artistic expressions of cherished memories.
Step-by-Step Guide to Making Your Own Photo Album
Creating a DIY photo album involves careful planning and thoughtful assembly. Each step plays a vital role in achieving a personalized keepsake.
Planning Your Album
Start by choosing a theme for your photo album. Popular options include travel adventures, family gatherings, or seasonal celebrations. Select your favorite photos that align with this theme. Determine the number of pages required based on the volume of pictures. Organize images in chronological or thematic order to enhance storytelling. Lastly, consider potential embellishments, such as stickers or captions, that could enrich the visual experience.
Assembling the Pages
Begin by preparing your workspace with all necessary materials readily available. Lay out your selected photos to visualize the layout. Use photo-safe adhesives to attach pictures securely to the cardstock. Include decorative elements like patterned paper or washi tape for added flair. Incorporate pockets to hold mementos, such as tickets or notes. Review each page, ensuring a balanced design before finalizing your arrangement. Create a cohesive flow from page to page to enhance the overall aesthetic appeal.
Tips for Personalizing Your DIY Photo Album
Personalizing a DIY photo album adds a unique touch that enhances its sentimental value. Consider these effective strategies for a truly customized album.
Adding Embellishments
Embellishments elevate the visual appeal of DIY photo albums. Stickers can serve as fun accents while washi tape adds decorative borders. Ribbons create texture, and stamps allow for custom designs. Unique elements like pressed flowers or small notes can enrich pages with personal stories. Choose embellishments that resonate with the theme or evoke specific memories to create a cohesive look.
Using Digital Tools for Design
Digital tools streamline the design process of DIY photo albums. Software like Canva or Adobe Spark offers user-friendly templates for layout creation. Photobooks can be customized online, allowing for professional-quality prints. Mobile apps simplify photo editing, enabling users to adjust brightness and contrast. Incorporating digital designs into the album fosters creativity and saves time, while still maintaining a handcrafted feel.
Creating DIY photo albums offers a meaningful way to celebrate memories while expressing creativity. These albums not only serve as beautiful keepsakes but also provide an opportunity for personal storytelling that digital formats often lack. By incorporating unique themes and thoughtful embellishments, anyone can craft an album that reflects their individual style and experiences.
Engaging in this hands-on project fosters mindfulness and encourages reflection on cherished moments. With accessible materials and user-friendly digital tools, the process becomes enjoyable and fulfilling. Ultimately, DIY photo albums stand as a testament to the power of memories and the joy of preserving them in a tangible form.

