
Setting up email on the iPhone 15 might seem as daunting as teaching a cat to fetch, but it’s actually a breeze. With its sleek design and intuitive interface, this device makes connecting to your email accounts smoother than a fresh jar of peanut butter. Whether you’re a tech whiz or someone who still struggles with the TV remote, getting your email sorted is just a few taps away.
Imagine checking your emails while sipping your morning coffee or casually responding to that work email while pretending to be interested in your friend’s latest cat video. With the iPhone 15, you can do just that! Let’s dive into the simple steps that’ll have you emailing like a pro, leaving you more time to enjoy those cat videos.
Table of Contents
ToggleOverview of Email Setup on iPhone 15
Setting up email on the iPhone 15 is straightforward and user-friendly. The device accommodates various email providers, including Gmail, Yahoo, and Outlook. Users initiate the setup by accessing the Settings app, which serves as the central hub for configuration.
After opening Settings, users scroll to Mail and select Accounts. The option to Add Account appears at the top. Choosing this option leads to a list of popular email providers. Each provider prompts users for necessary credentials, such as email address and password.
Following account entry, users can configure additional settings. Notification preferences, syncing options, and signature settings enhance email management. Users easily modify these settings according to personal preferences.
Once configured, users can access email via the Mail app. The interface displays all accounts seamlessly, providing a clear view of incoming messages. Users can organize emails into folders, ensuring efficient management of correspondence.
Accessibility features also play a crucial role. VoiceOver enhances usability for those with visual impairments. Additionally, customizable display options cater to individual preferences, promoting a personalized experience.
Troubleshooting occurs if issues arise during setup. Restarting the device may resolve connection problems. Verifying internet access is essential for successful email setup. Should difficulties persist, consulting the support resources from the email provider offers further assistance.
This process enables users to efficiently manage their emails, keeping them connected while engaging in leisure activities, like watching cat videos.
Step-by-Step Guide
Setting up email on the iPhone 15 involves a few straightforward steps. Each step contributes to a seamless experience when accessing email accounts on the device.
Preparing Your Email Account
Before starting, ensure the email address and password are accessible. Check if two-factor authentication is enabled for added security. Familiarity with server settings is useful for some email providers, particularly for those using custom domains. Gather any information needed, including incoming and outgoing mail server details. Having this data ready simplifies the process, especially for non-mainstream email services.
Accessing Settings on iPhone 15
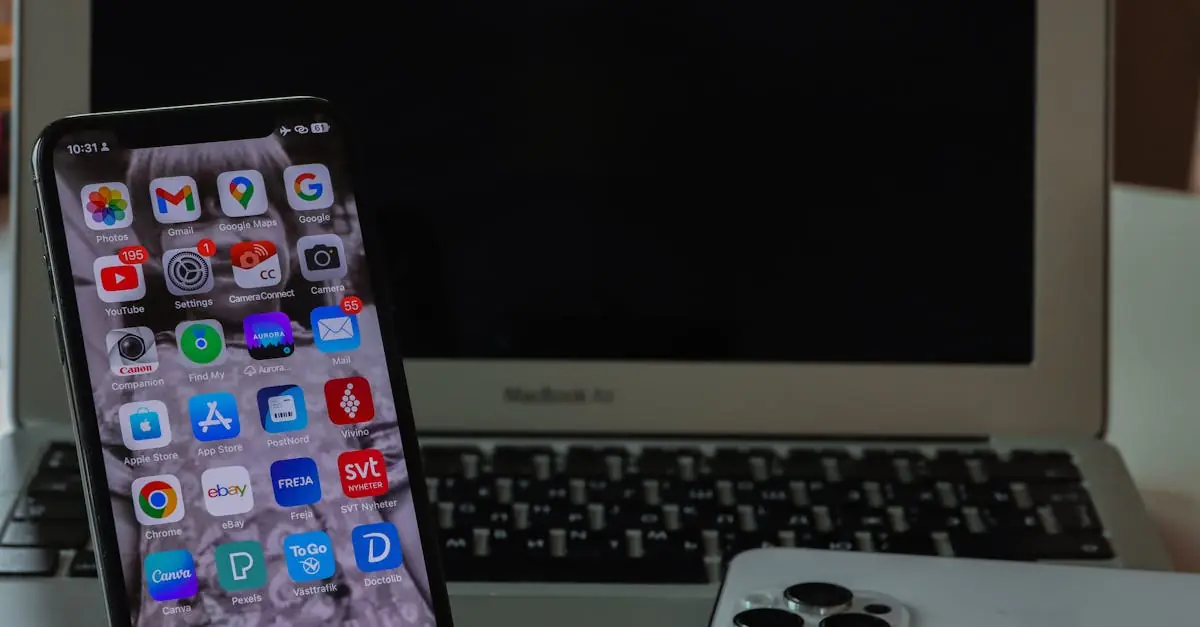
Start by locating the Settings app on the iPhone 15. Tap the icon to access a menu filled with options. Scroll down to find “Mail,” and then tap to open it. Next, look for “Accounts” and select it to view existing email accounts. Users can choose to add a new account from this section. The interface is intuitive, ensuring a smooth navigation experience even for those less tech-savvy.
Adding Your Email Account
To add the email account, click “Add Account.” A list of common email providers appears; select the relevant one. For accounts not listed, select “Other” and enter the required information manually. After inputting the email address and password, the device verifies the credentials before proceeding. Customize settings such as sync preferences and notification options according to individual needs. Complete the setup to start enjoying the convenience of emails on the go.
Common Email Providers
Various email providers offer straightforward setup processes on the iPhone 15. Users can easily connect their accounts by following simple instructions tailored for each service.
Setting Up Gmail
To set up Gmail on the iPhone 15, users navigate to the Settings app. Users select “Mail,” then tap “Accounts” and “Add Account.” Choosing “Google” prompts users to enter their email address and password. Users may also need to authorize access via two-factor authentication. After successfully signing in, Gmail settings allow users to customize notifications and syncing preferences. This setup ensures a seamless experience, enabling users to access their emails and organize them effortlessly.
Setting Up Yahoo Mail
Setting up Yahoo Mail follows a similar process. Users open the Settings app and go to “Mail,” then “Accounts,” and select “Add Account.” By choosing “Yahoo,” users enter their email address and password. Verification through two-factor authentication may occur. Following successful authentication, users can adjust settings like notifications and syncing preferences for optimal email management. This method allows users to manage their Yahoo Mail efficiently within the iPhone Mail app.
Setting Up Outlook
For Outlook setup, users again access the Settings app. Selecting “Mail” leads to “Accounts,” followed by “Add Account.” Choosing “Outlook.com” allows users to input their email address and password. The two-factor authentication process enhances security. After setup, users customize notifications and sync settings, ensuring that Outlook emails are organized effectively. This integration provides users with a cohesive email experience on their iPhone 15.
Troubleshooting Email Setup Issues
Some users might encounter issues during the email setup process on their iPhone 15. Below are common problems and their solutions.
Connectivity Problems
Connectivity issues often hinder email setup. First, check the Wi-Fi or cellular connection. Ensure the device is connected to a stable network. If using Wi-Fi, verify that the router is operational and other devices can connect. Restarting the router can help resolve temporary glitches. Furthermore, toggling Airplane Mode on and off may re-establish the connection. If issues persist, resetting network settings may provide a solution. Navigate to Settings, select General, then Reset, and tap Reset Network Settings. This action clears saved connections but restores functionality.
Incorrect Settings
Incorrect settings frequently lead to email setup problems. Verify the entered email address and password, as mistyped credentials are common. Pay attention to case sensitivity in email addresses and passwords. Users should ensure they select the correct email protocol, either IMAP or POP, based on their provider’s specifications. If prompted for server settings, obtain those details from the email provider’s help section. Additionally, double-check for any required security settings, such as SSL. Adjusting these details can often resolve issues with sending or receiving emails.
Setting up email on the iPhone 15 is a straightforward process that anyone can master. With a few simple steps in the Settings app users can connect to their preferred email providers and start managing their inboxes efficiently. The Mail app’s intuitive design makes it easy to customize settings and notifications to suit individual preferences.
For those who encounter issues during setup troubleshooting tips can help resolve common problems quickly. Whether it’s ensuring a stable internet connection or verifying account credentials users can navigate these challenges with confidence. By following the guidance provided users can enjoy seamless email access and stay connected without hassle.